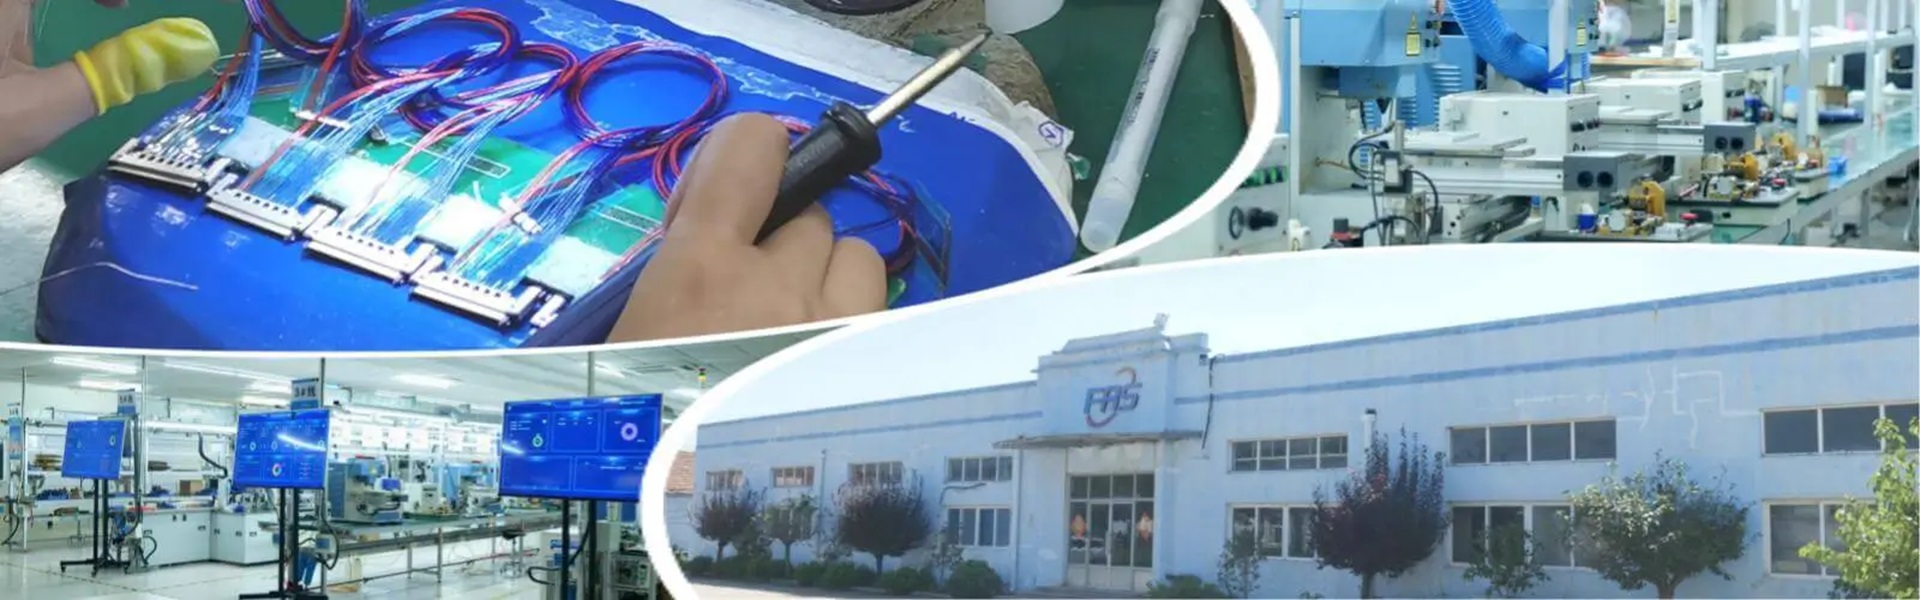
How to Install Cable Assemblies Correctly
Cable assemblies are critical components in electrical and mechanical systems, ensuring reliable power and signal transmission. However, improper installation can lead to performance issues, safety hazards, or even system failure. This guide provides a detailed, actionable approach to installing cable assemblies correctly, ensuring longevity, compliance, and optimal functionality.
Why Proper Installation Matters
Installing cable assemblies incorrectly can result in:
- Signal degradation due to interference or poor connections.
- Physical damage from excessive bending, tension, or abrasion.
- Safety risks, including short circuits, fires, or electric shocks.
- Costly downtime for repairs or replacements.
By following industry best practices, you can avoid these pitfalls and maximize the lifespan of your cable assemblies.
Tools and Materials You’ll Need
Before starting, gather these essentials:
- Cable assembly (pre-configured for your application).
- Wire strippers, crimpers, and soldering tools (if custom terminations are needed).
- Cable ties, clamps, or conduit for secure routing.
- Multimeter for testing continuity and voltage.
- Protective gear (gloves, safety glasses).
- Manufacturer’s datasheet for specifications (e.g., bend radius, temperature limits).
Step 1: Pre-Installation Preparation
A. Inspect the Cable Assembly
- Check for visible damage (cuts, frayed wires, or bent connectors).
- Verify compatibility with your system’s voltage, current, and environmental conditions (e.g., moisture, temperature).
B. Plan the Routing Path
- Avoid sharp bends, heat sources, or moving parts.
- Maintain the minimum bend radius specified by the manufacturer (e.g., 10x the cable diameter).
- Separate power and data cables to prevent electromagnetic interference (EMI).
Step 2: Terminating Connectors
A. Stripping and Crimping
- Strip insulation carefully to avoid nicking conductors.
- Use crimping tools to attach connectors securely. For complex assemblies, solder connections for durability.
B. Labeling
- Label both ends of the cable to simplify troubleshooting later.
Step 3: Routing and Securing Cables
A. Use Strain Relief
- Secure cables near connectors with clamps or sleeves to prevent tugging on terminals.
B. Avoid Tension and Compression
- Leave slack in the cable to accommodate movement or thermal expansion.
- Never over-tighten zip ties, which can crush insulation.
C. Protect from Environmental Hazards
- Use conduit or spiral wrap in high-vibration or dusty environments.
- Seal connections with heat-shrink tubing if moisture is a concern.
Step 4: Testing and Validation
A. Continuity Test
- Use a multimeter to ensure no open or short circuits.
B. Signal Integrity Check
- Test data cables for proper transmission (e.g., using a network analyzer).
C. Load Testing
- Power up the system gradually to verify performance under real-world conditions.
Common Installation Mistakes to Avoid
- Ignoring Bend Radius Limits: Sharp bends damage internal conductors.
- Poor Grounding: Unshielded cables in high-EMI environments cause signal noise.
- Overlooking Strain Relief: Unsupported cables fatigue and fail over time.
- Mixing Incompatible Cables: Power and data lines too close create interference.
Post-Installation Maintenance
- Periodically inspect cables for wear, corrosion, or loose connections.
- Clean connectors with contact cleaner to prevent oxidation.
- Update documentation to reflect any changes in the system layout.
Safety Tips
- De-energize systems before working on live circuits.
- Follow local codes (e.g., NEC in the U.S.) for commercial installations.
- Wear PPE to protect against sparks or debris.
FAQs
Q: Can I reuse old cable assemblies?
A: Only if they pass rigorous testing for damage and performance.
Q: How do I determine bend radius?
A: Refer to the manufacturer’s datasheet—typically 5–10x the outer diameter.
Q: What if my cable fails testing?
A: Recheck terminations and routing. Replace the assembly if defects persist.